How to install Wordpress On Cpanel
Using cPanel
If your hosting provider supplies the cPanel hosting control panel, you may follow these simple instructions to create your WordPress username and database. A more complete set of instructions for using cPanel to create the database and user can be found in Using cPanel.
- Log in to your cPanel.
- Click MySQL Database Wizard icon under the Databases section.
- In Step 1. Create a Database enter the database name and click Next Step.
- In Step 2. Create Database Users enter the database user name and the password. Make sure to use a strong password. Click Create User.
- In Step 3. Add User to Database click the All Privileges checkbox and click Next Step.
- In Step 4. Complete the task note the database name and user. Write down the values of hostname, username, databasename, and the password you chose. (Note that hostname will usually be localhost.)
Step 1: Download and Extract
Download and unzip the WordPress package from https://wordpress.org/download/.
- If you will be uploading WordPress to a remote web server, download the WordPress package to your computer with a web browser and unzip the package.
Step 2: Upload the files
Now you will need to decide where on your domain you'd like your installed:
- In the root directory of your website. (For example, http://example.com/) Check with your hosting provider or system administrator if you do not know where this is.
Step 3: Run the Install Script
Point a web browser to start the installation script.
- If you placed the WordPress files in the root directory, you should visit: http://example.com/wp-admin/install.php
Setup configuration file
If WordPress can't find the wp-config.php file, it will tell you and offer to try to create and edit the file itself. (You can also do this directly by loading wp-admin/setup-config.php in your web browser.) WordPress will ask you the database details and write them to a new wp-config.php file. If this works, you can go ahead with the installation; otherwise, go back and create, edit, and upload the wp-config.php file yourself (step 3).
Finishing installation
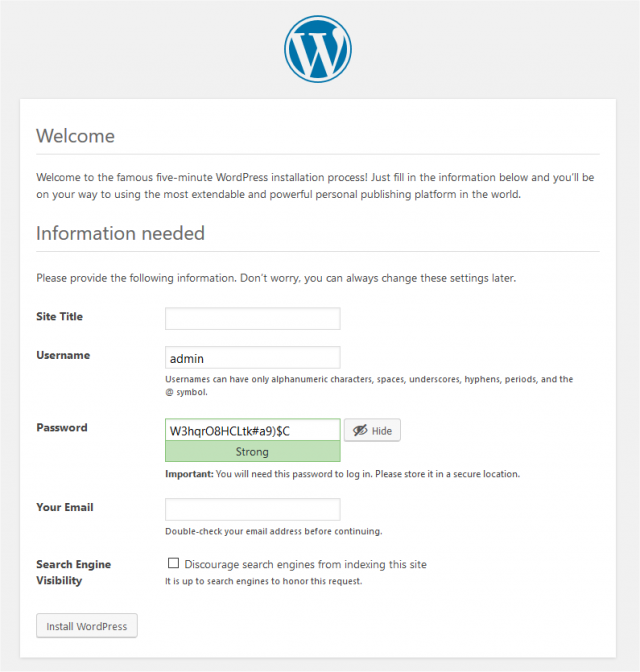
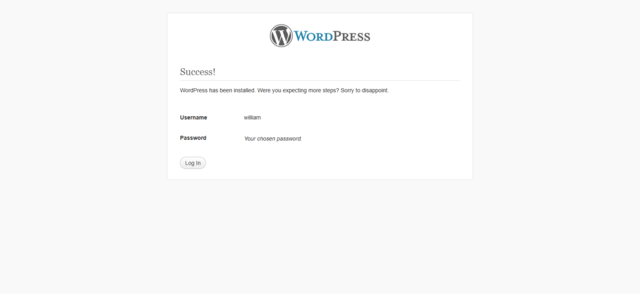
The following screenshots show how the installation progresses. Notice that in entering the details screen, you enter your site title, your desired user name, your choice of a password (twice), and your e-mail address. Also displayed is a check-box asking if you would like your blog to appear in search engines like Google and Technorati. Leave the box checked if you would like your blog to be visible to everyone, including search engines, and uncheck the box if you want to block search engines, but allow normal visitors. Note all this information can be changed later in your Administration Panels.
Also Read
-
wordpress Fatal error Allowed memory size of 41943040 bytes exhausted. (Views: 2212)
-
How to speed up and optimize a WordPress website (Views: 1442)


